How to Flush a Water Heater – A Step-by-Step Guide for Peak Performance
Diving into the world of water heaters is like opening the door to a hidden realm of household magic. In this guide, we’re not just demystifying the inner workings of your water heater; we’re giving you the keys to ensure it performs at its peak for years to come.
Hey there, curious homeowner! Ever wondered what’s cooking behind the scenes in your water heater? Well, get ready for a backstage pass into the secret life of this unsung hero of your home. We’re about to spill the beans on the not-so-glamorous world of sediment buildup and spill even more on why your water heater is practically begging for a spa day – and by spa day, we mean a good ol’ flush. So, stick around as we peel back the layers of water heater maintenance, turning a regular ol’ task into a rejuvenating experience for your trusty appliance. Buckle up; it’s time to dive into the world of flushing!
Why Flush Your Water Heater?
Ever wondered why your water heater needs a spa day? Let’s spill the tea on the benefits of flushing:
1. Sediment Buildup Sabotage:
Sediment, the silent saboteur, settles at the bottom of your tank over time, impacting your water heater’s efficiency. It’s like a layer of sludge that hampers heating performance.
2. Energy Efficiency Boost:
Flushing out that sediment is akin to giving your water heater a power-up. A clean tank is an energy-efficient tank. When sediment builds up, your heater has to work harder to heat the water, leading to increased energy consumption and higher bills.
3. Extended Lifespan:
Regular flushing can add years to your water heater’s life. Imagine your water heater sending you a thank-you card for the extra time on this earth! Sediment, if left unchecked, can lead to corrosion. Flushing helps prevent corrosion, ensuring your water heater stays robust for a more extended period.
When to Flush Your Water Heater
Not all heroes wear capes, and not all water heaters need flushing every day. Let’s decode the signs:
1. Sediment Symphony:
If you hear your water heater playing a crunchy tune, it’s time. Sediment buildup creates noise as it gets heated, akin to crackling or popping sounds. This is a clear indication that your tank needs attention.
2. Rusty Waters:
If your hot water suddenly starts resembling a rusty river, your tank may be shouting, “Help! I need a flush!” Rusty water indicates corrosion, a consequence of sediment settling in the tank. Flushing removes the sediment and prevents further rusting.
3. Age Matters:
For water heaters, age is more than just a number. If yours is in the 6-15 years range, consider a spa day. If it’s older, treat it like royalty. Aging water heaters are more prone to sediment buildup and corrosion, making regular flushing crucial for their well-being.
Tools for the Task: Unleash Your Inner Handyman
1. Screwdriver or Nut Driver:
– Essential for loosening the heating element and anode rod.
2. Hose:
– A garden hose, preferably around six feet, will aid in draining the tank.
3. Bucket:
– A trusty bucket for collecting sediment and old water during the flush.
4. Pipe Wrench:
– Required for disconnecting the water supply line.
5. Safety Gear:
– Don’t forget your safety goggles and gloves! Dealing with hot water and sediment requires protection.
Materials to Make the Magic Happen: Your Water Heater’s Spa Essentials
1. Garden Hose Cap or Threaded Cap:
– To cap off the drain valve when flushing.
2. Vinegar:
– Ideal for cleaning the heating element. A water and vinegar solution helps dissolve mineral deposits.
3. Teflon Tape:
– Perfect for resealing the heating element and anode rod after flushing.
4. Replacement Anode Rod:
– If your water heater is aging, consider having a replacement anode rod on hand.
Tools for Safety: Protect and Serve
1. Goggles:
– Shield your eyes from potential splashes and debris.
2. Gloves:
– Insulate your hands from hot water and sharp edges.
3. Closed-Toe Shoes:
– A simple yet effective way to prevent any accidental burns.
Detailed Steps for Flushing Your Water Heater
- Power Down Your Heater: Begin by turning off your water heater. If it’s gas-powered, locate the thermostat on the exterior and set it to “Off.” For electric heaters, shut off the power directly at the electrical panel or fuse box.
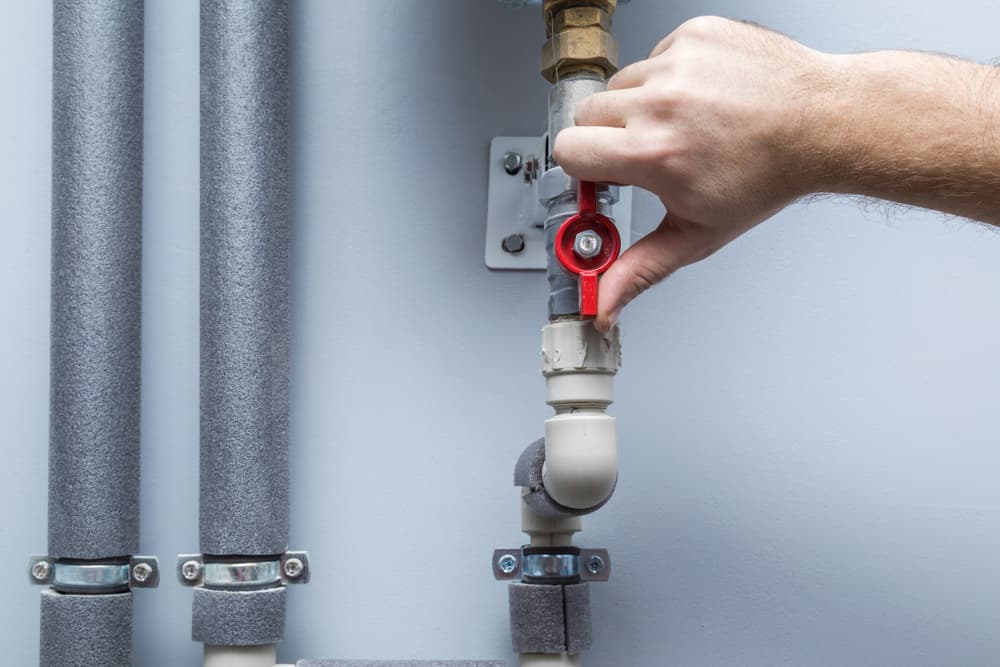
- Halt the Water Supply: Find the valve atop the tank where the water supply pipe connects. This valve, usually part of the plumbing just before reaching the water heater intake, needs to be closed.
- Cool Down the Water: Though optional, allowing the water to cool reduces the risk of burns and potential hot water damage. You can let it cool naturally, drain it overnight, or open a hot water faucet until it runs cold.
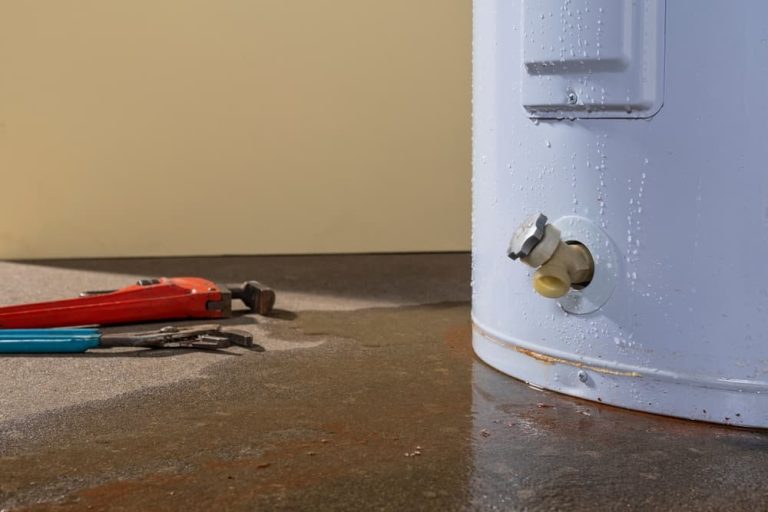
- Locate and Connect the Drain Valve: Identify the drain valve and attach a garden hose to it. Place the other end of the hose at a drainage point – outside, in a bathtub, or a utility sink.
- Open a Hot Water Faucet: To relieve pressure and prevent vacuum creation in water lines, turn on a hot water faucet. Ensure it’s higher in the home than the top of the water heater.
- Open the Drain Valve and Begin Draining: Patience is key. Depending on tank fullness and sediment levels, draining may take a while. Periodically check water quality, draining into a container and allowing it to settle to monitor sediment presence.
- Flush the Tank: Turn on the cold water supply to perform a final flush, clearing any remaining sediment. Once the water runs clear from the hose, turn off the cold water supply.
- Complete the Draining Process: Close the drain valve, remove the hose, and turn on the cold water supply. Keep the faucet open to release trapped air. Wait until the faucet runs at full pressure, signaling a full tank. After at least 30 minutes, turn on the water heater, following specific steps for gas or electric models.
Conclusion
Flushing your water heater not only clears out sediments but also ensures optimal efficiency, prolonging its lifespan. Regular maintenance like this can save you from unexpected breakdowns and keep your hot water flowing consistently.
Remember, a smoothly running water heater is an unsung hero, silently working to provide comfort. By following these simple steps, you’ve not only maintained your appliance but also improved its overall performance. Here’s to a reliable, efficient, and long-lasting water heating experience! Cheers to hassle-free hot showers!

